Figure
| Step |
Figure 1: Printer cover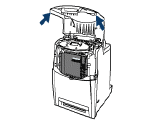
|
1. Using the side handles, open the top cover.
CAUTION: The fuser might be hot. |
Figure 2: Open front cover
Figure 3: Green handle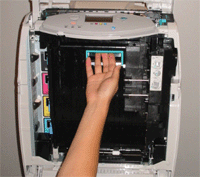
|
2. Open the front cover. 3. Grasp the green handles on the transfer unit.
|
Figure 4: Transfer unit down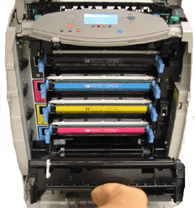
| 4. Pull down the transfer unit.
|
Figure 5: Print cartridge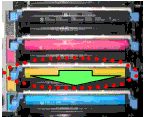
|
5. Grasp the blue handles on the sides of the used yellow print cartridge and pull to remove the cartridge from the printer. |
Figure 6: Print cartridge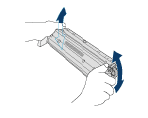
|
6. Remove the new yellow cartridge from the bag.
7. Grasp both sides of the cartridge and distribute the toner by gently rocking the cartridge from side to side. |
Figure 7: Orange shipping lock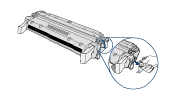
|
8. Remove and discard the orange shipping lock. |
Figure 8: Tape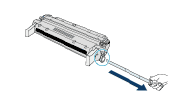
|
9. Remove the inside sealing tape by pulling the orange loop on the end of the cartridge and pulling the tape completely out.
10. Discard tape. |
Figure 9: Print cartridge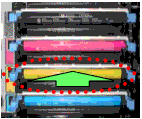
|
11. Grasp the blue handles on the sides of the print cartridge.
12. Align the print cartridge with the tracks inside the printer and insert the cartridge until it clicks into place. |
Figure 10: Printer cover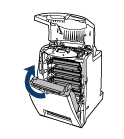
|
13. Close the transfer unit and front cover. |
Figure 11: Printer cover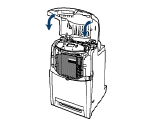
|
14. Close the top cover. |
Figure 12: Control panel display
|
After a short while, the control panel should display READY. |
Figure 13: Used print cartridge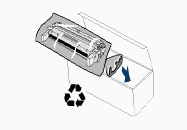
|
15. Installation is complete. Place the used print cartridge in the box in which the new cartridge arrived. |
